


Serverless is a cloud-computing execution model in which the cloud provider is responsible for executing a piece of code by dynamically allocating resources to run the code when needed. In previous posts leading up to this point, we looked at what serverless is, and we set up our computer to be able to build serverless applications using AWS Amplify. We bootstrapped a React project and used the Amplify CLI to provision a secured backend API, a NoSQL database, and Amazon Pinpoint for usage tracking. In this post, I will show you how to host the React application we built, on AWS.
Amazon Simple Storage Service (S3) can be used to host web applications. To achieve this, you'll need to upload the files for your website to an S3 bucket, and then configure the bucket for hosting. We want to make this process easy for us, so we will use AWS Amplify CLI to configure hosting for our React application. Open the command line, switch to the directory containing the React project, and follow the instruction below to include a hosting resource to the Amplify project.
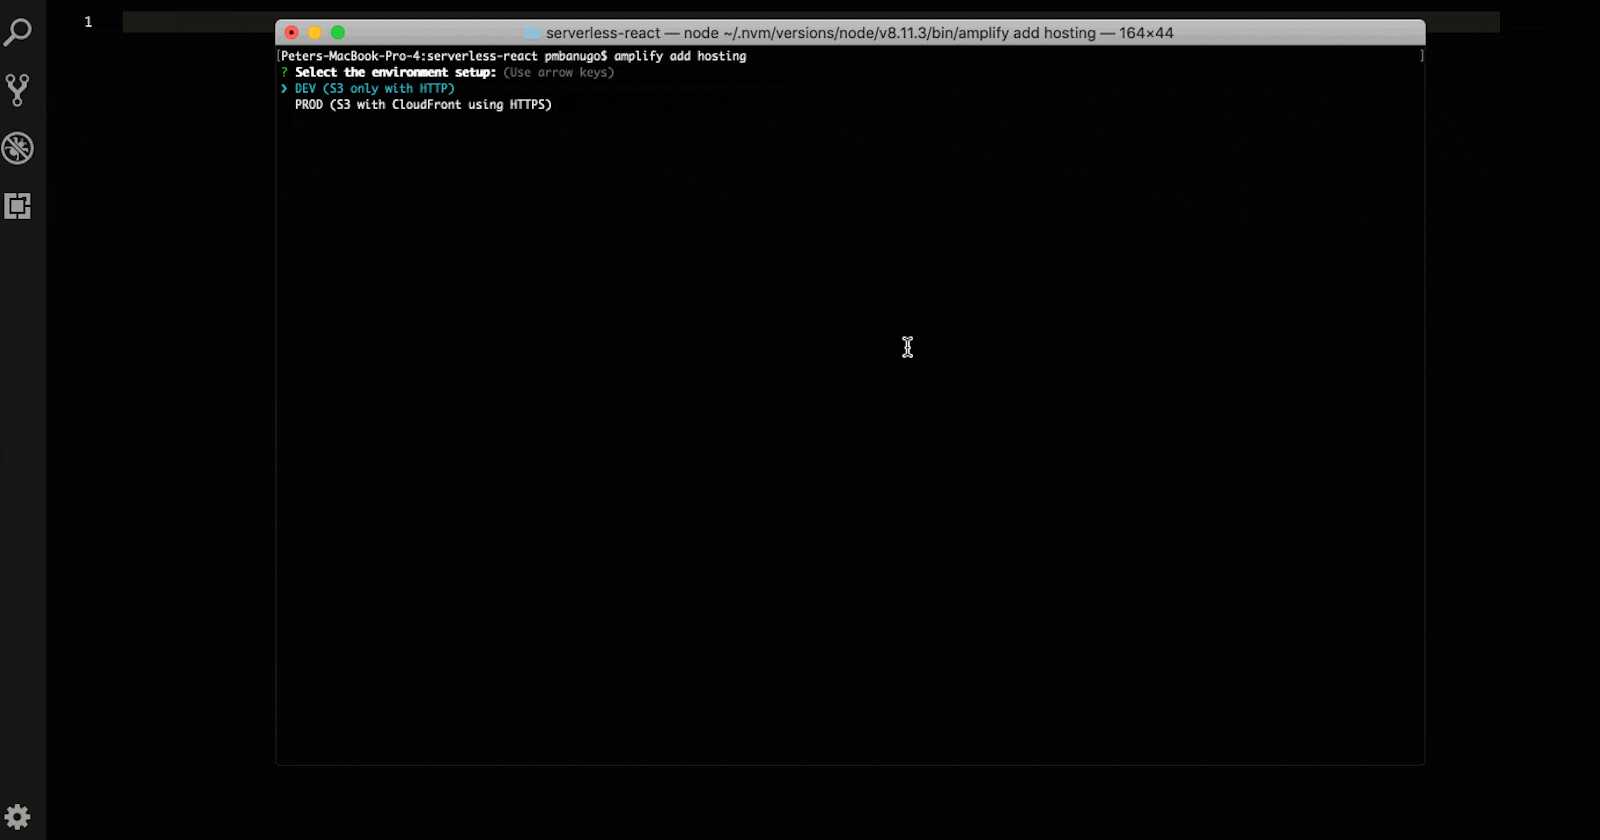
Run the command
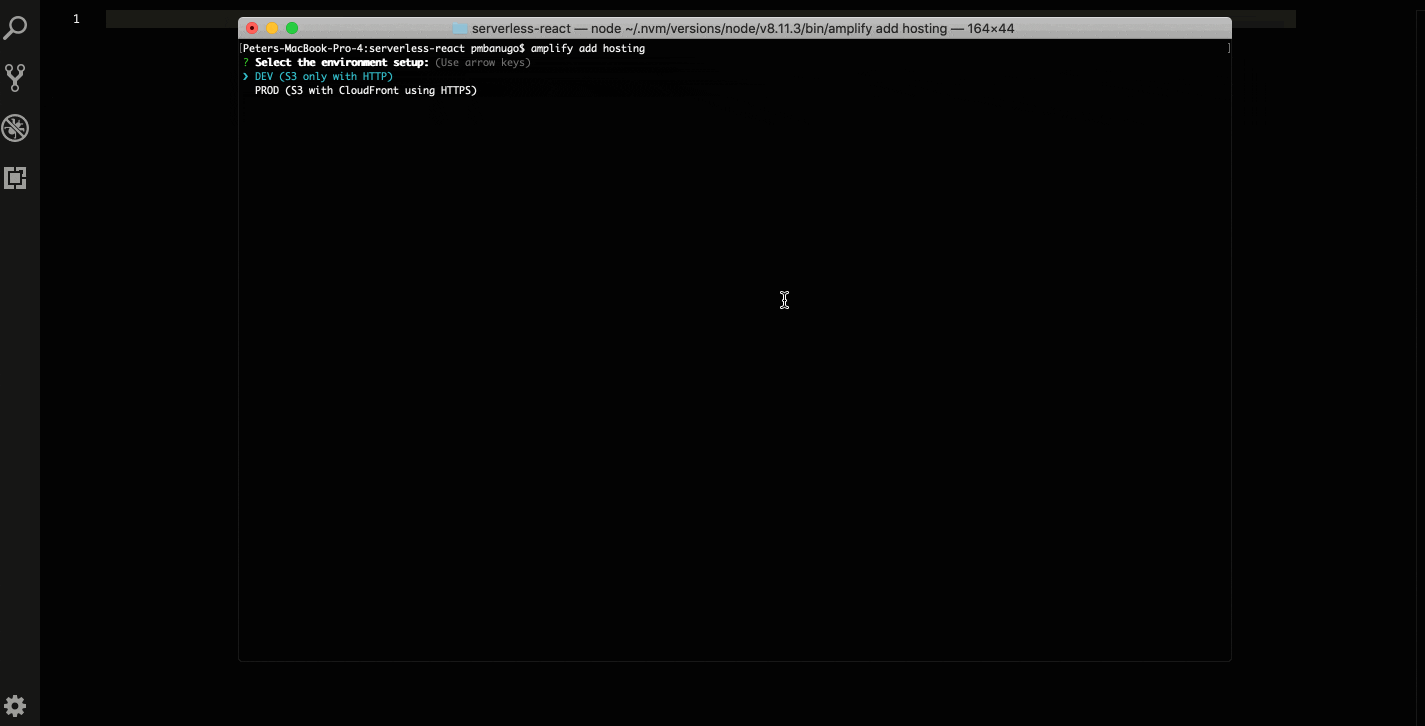
amplify add hosting. This will prompt you to select a deployment environment setup. ChooseDevand press Enter.You will be prompted for bucket name. Press Enter to use the default suggested name.
The next two prompts ask for index and error docs for the web app. We'll use index.html. Press Enter to select the default index.html.
This added the hosting resource locally. If you open the folder amplify/backend, you'll find a hosting folder with a S3AndCloudFront/template.json file denoting information for the hosting configuration. We will push these files to the cloud, and AWS CloudFormation will create and configure S3 and CloudFront to run our application. Open the command line and run amplify publish. It shows you the state of your Amplify project resources with a prompt asking if it should continue with the command. You should notice a new Hosting resource listed, with operation marked as Create. Press Enter for the CLI to run its operation.
The command amplify publish pushes update of our backend resources to the cloud. With the information logged in the command line, you'll notice it created an S3 bucket with the right policy and configured it for hosting, thereby printing the URL to access it. As soon as this is finished, it runs the script to build the React project, thereby generating files that can be deployed to S3. When the project is built successfully, it uploads the files to the S3 bucket created for hosting and opens the URL in the browser.
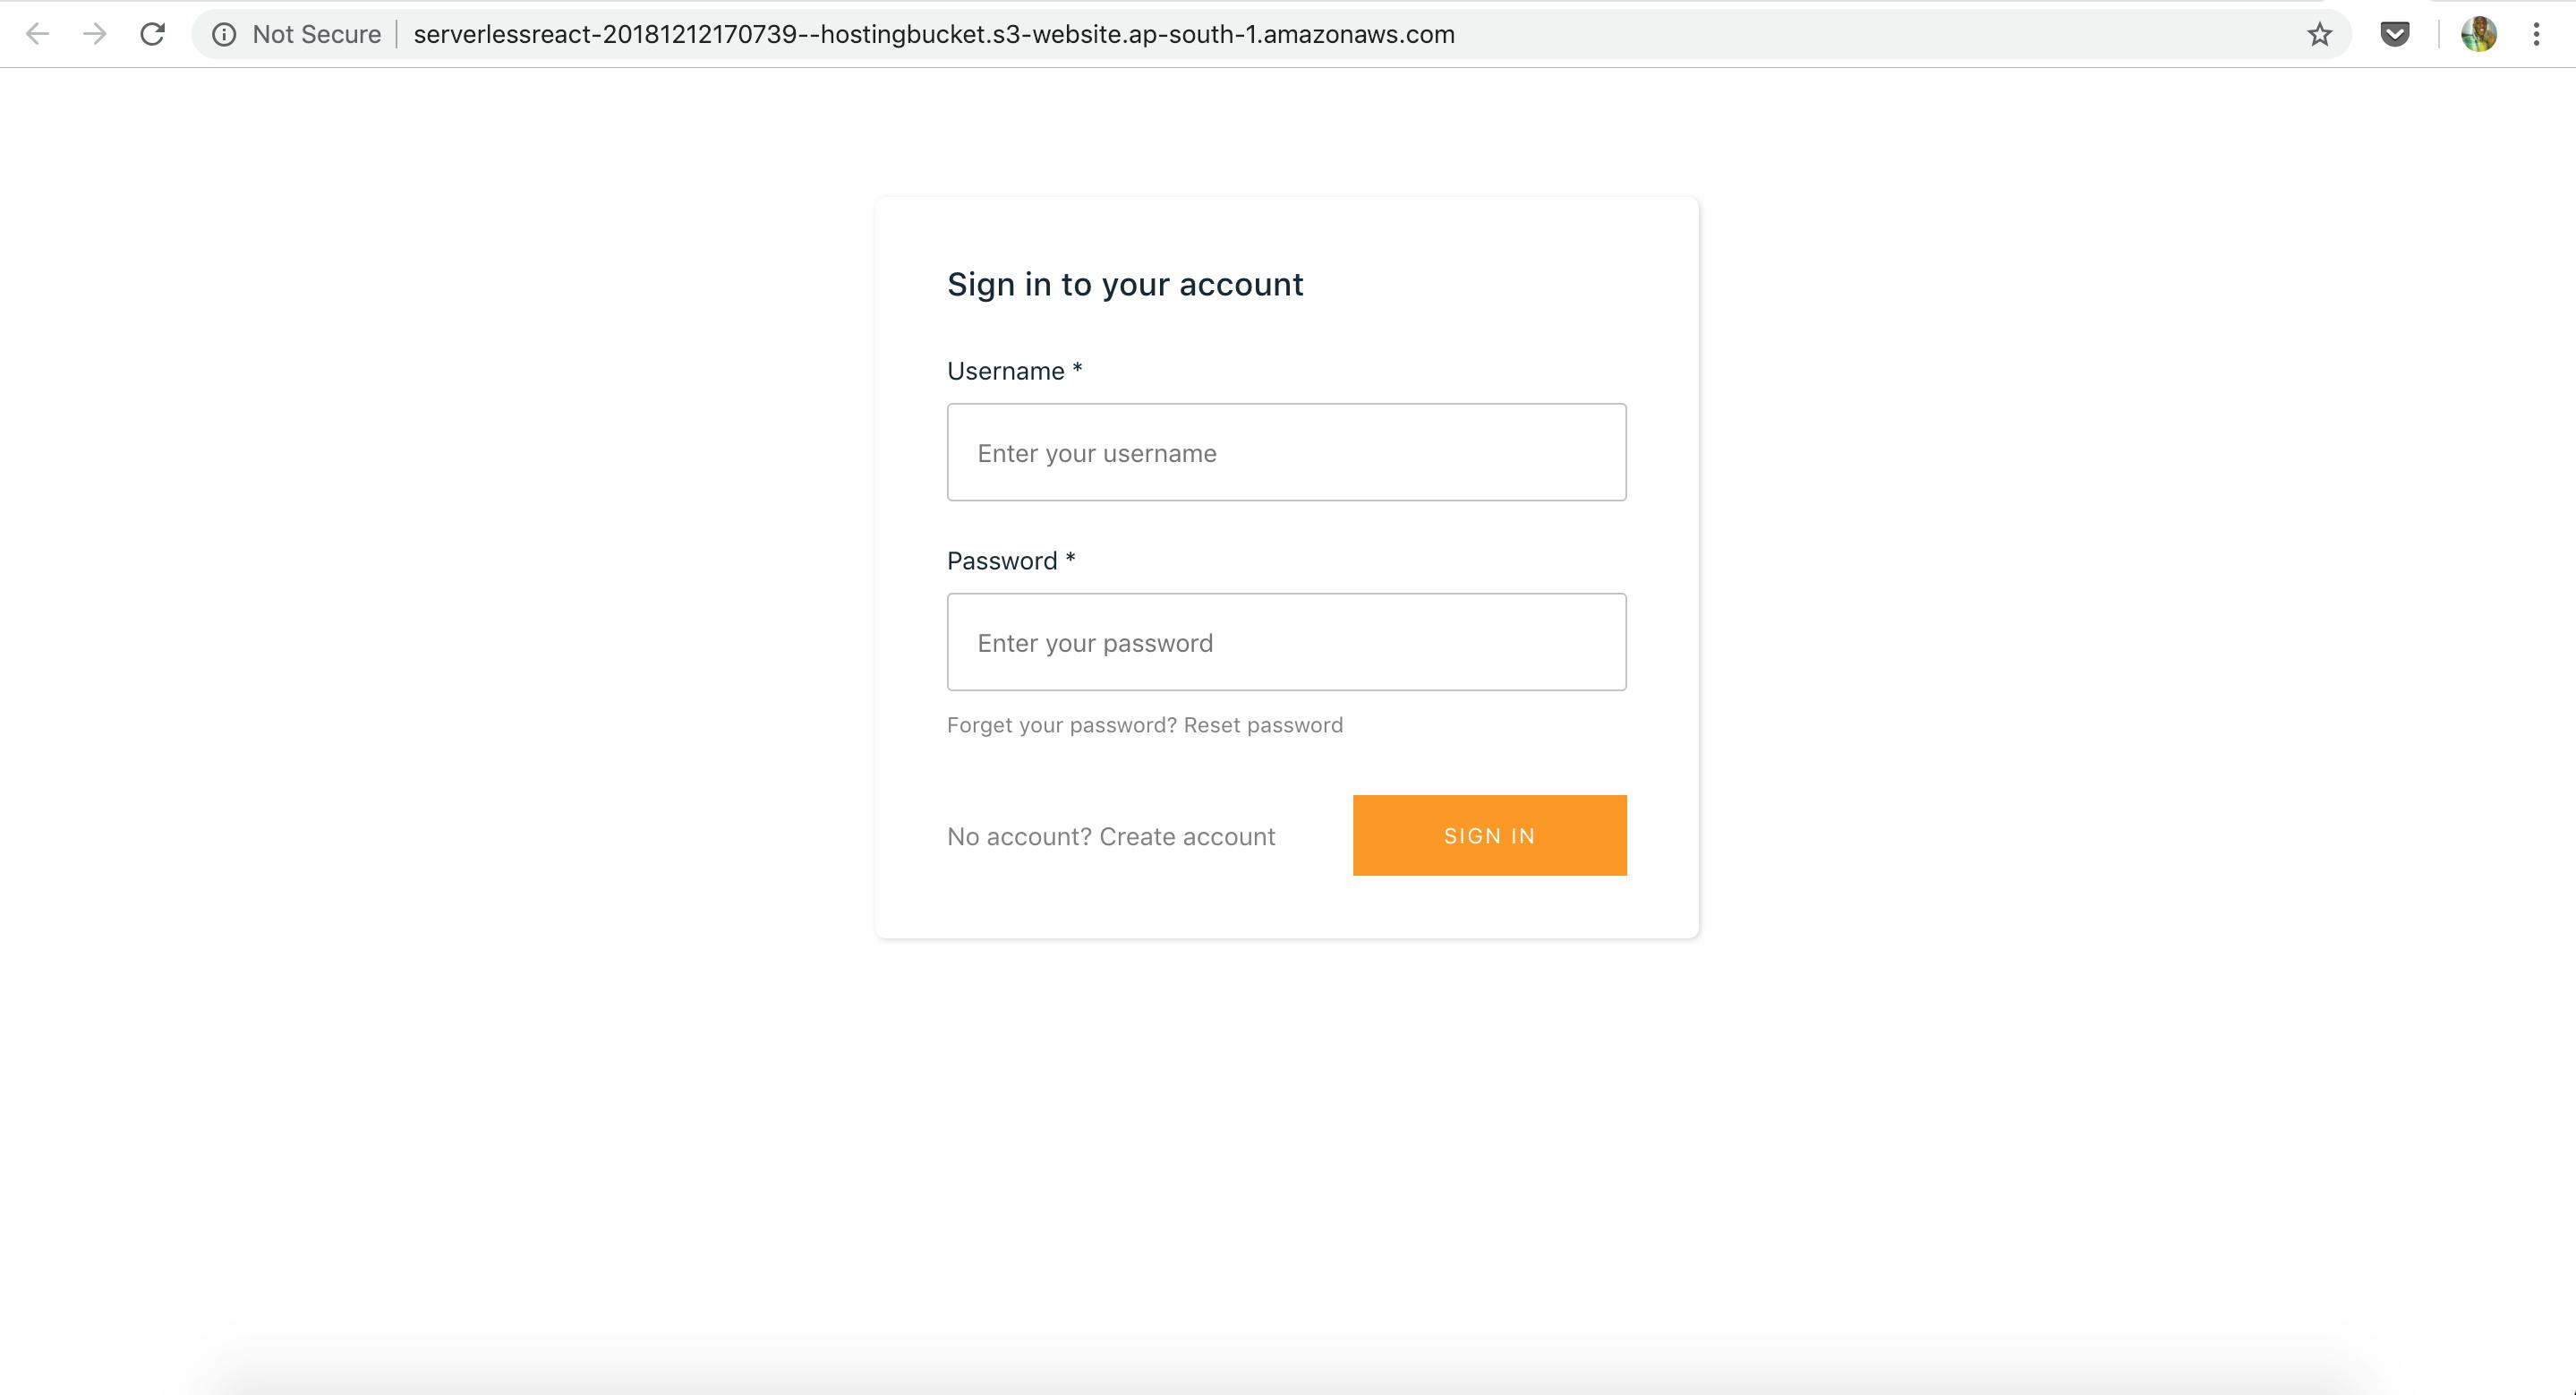
Hooray! We shipped the app and it's accessible via a public URL. The hosting resource can be updated if you want to change the website index and error docs, or configure CloudFront. You can do this by running amplify hosting configure command in the command line. This should present you with 3 options:
Website: This option is used to configure the S3 bucket for static hosting. This is where you specify the index and error documents. By default, these are set to index.html.
CloudFront: This option is used to configure CloudFront as a content delivery network. Here you can enable CloudFront if it was not added during initial setup, set the default cache behavior, and configure custom error responses.
Publish: This option configures the publish ignore patterns (just like what’s in the .gitignore) for the publish command. The publish command will ignore directories and files in the distribution folder that have names matching the patterns.

You can further configure Amazon Route 53 to register a custom domain for the application. You can follow this guide to register and configure a custom domain for the application.
That's A Wrap
In this post, I showed you how to set up and host your web app with AWS Amplify CLI. We used the command amplify add hosting to add hosting to the project and amplify publish to build and upload the latest code to the S3 bucket for hosting. This shows that with AWS Amplify, hosting and deployment are achieved with two commands, and in under 15 minutes.
In previous posts, I walked through installing and configuring AWS Amplify CLI, initializing the Amplify and React project, building and consuming API, and then tracking usage metrics. In the next post, we will end the series by looking at Amplify Console, which is a continuous deployment and hosting service for mobile web applications.
The links below will take you to the different posts in this series:
Going serverless with React and AWS Amplify: Development Environment Set up
Going serverless with React and AWS Amplify Part 2: Creating And Using Serverless Services
Going serverless with React and AWS Amplify Part 3: Tracking App Usage
Going serverless with React and AWS Amplify Part 4: Hosting (this post).